We finished putting the bedroom back together literally minutes before going to pick up son G from his mission trip, but we got it DONE! Here are the promised before/after pics. I am being vulnerable here and showing you how incredibly messy it was before. This would be due to several months of the boys "cleaning" it themselves without enough direction and help from mom. I think I am just as happy about it being NEAT as I am about it being repainted! And they are highly motivated now to keep it clean, so we shall see....
BEFORE ~ bed was red. Rug was beige. Night stand was cluttered with stuff. Chair rail molding and primary colored border I put on myself when I was hugely prego with baby #4 (which was son C ~ got it done immediately before being put on bedrest with him as I recall! If I ever talk about putting wallpaper or a border up again, somebody please threaten me with bodily harm!). These boys have a knack for covering every horizontal surface with S.T.U.F.F. so the whole first day we spent just clearing surfaces and emptying the room.
AFTER ~ walls are green. Bed is spray painted brown. We left the hardwood floor and just put a small area rug by the bed to look like grass. "Curtain" is a strand of plastic plant - boys love how it fits their jungle-ish decor now, but it will be super easy to change in the future! Nightstand has storage so (hopefully) less clutter on top.
BEFORE ~ messy desk corner.
AFTER ~ cleared off desk! I love how crisp and clean the room looks with the solid green walls. This corner shows the two different shades of green we used. Wall on left is a bit lighter than the wall on the right. Two walls are light, two are dark. This was a compromise, as the boys wanted the darker color and the parents wanted the lighter color.
BEFORE ~ cluttered book case corner.
AFTER ~ cleared out book case corner! The boys need to do a second pass through these shelves and find more items to bless the Salvation Army with. They were able to fill two bags completely on their own though, with no input from me - progress! Yay!
BEFORE ~ closet that didn't work well. The previous owners had tried to make the closet space functional, with two rods on the right side (one high, one low), one rod high on the left, and built in shelves down the middle. Without room for dressers, one boy used the middle shelves for clothes, and we put a plastic drawer tower in there on the left for the other boy (the space was way too narrow for a dresser - trust me, I looked!). Neither place worked well for clothes and they were constantly spilling out onto the floor.
AFTER ~ this may be my very favorite thing about this room! Doesn't the closet look ORGANIZED??! We took out the bottom right rod and bought matching wire drawers that fit the clothes perfectly. We may get sliding panel doors to hide the closet eventually, but I actually like to see how organized it is, and it's easy for the boys to get things in and out!
We have a couple pictures left to hang, but otherwise the room is DONE, and the boys love it so much they are hanging out there constantly! And I have a huge sense of accomplishment in getting this project checked off my to do list. :0)
Sunday, July 15, 2012
Friday, July 13, 2012
Wednesday, July 11, 2012
Making Progress on the Room Makeover!
Today is day 3 of the bedroom makeover, and we're nearing completion! Yesterday son C finished scraping off the wallpaper border. He worked alongside me nearly all day and was such a trooper! I'm so thankful he is such a good, hard worker.
Also yesterday I got the first coat on two walls (pictured), and this morning put the second coat on, so two walls are DONE!
Today we are working on the other two walls, which are a slightly different shade of green. First coat is drying as I type, and trim is nearly done. So cool to see it taking shape beneath our hands!
Also yesterday I got the first coat on two walls (pictured), and this morning put the second coat on, so two walls are DONE!
Today we are working on the other two walls, which are a slightly different shade of green. First coat is drying as I type, and trim is nearly done. So cool to see it taking shape beneath our hands!
Sunday, July 8, 2012
Mission Trip!
Our son G left today for his first ever mission trip. It is a week long trip, doing heavy work projects for a small christian camp. I am super excited for him to have this experience ~ bonding with the other boys (and a few girls!), working as a team, learning spiritual lessons from real life, and working hard for the benefit of others.
It is his first time to be away from us for a significant amount of time, and I have to say, it feels different for this mama to send a boy off than it has to send our girl off. Not really easier or harder exactly, but definitely different. He just texted me (at 11:00 p.m.!) and my heart is happy and content to have heard from him.
Daughter G also left this morning to spend 5 days at the family cottage, so we are down to three children for the week. And you know what we're going to be doing?? PAINTING a bedroom that was promised last year! I'm praying for both of the children that are away, for those that are here, and that all of us will have a productive and bonding week.
I took a bunch of "before" pics of the bedroom, and will, Lord willing, post "after" pics the end of the week! I know I always say that, but this time I really will. (I hope, I hope)
Friday, July 6, 2012
Transparency Map Project
Our history curriculum comes with a wonderful set of maps to learn geography right along with history. For rhetoric (high school) students they suggest using transparency overlays for the mapwork, rather than straight paper maps, and we chose to do this with our daughter G this past year. It was something she really enjoyed, making geography more "artsy" for her, and therefore probably sticking better in her memory!
Here is a set of pictures showing how the transparency maps work. These are from this past spring, as we learned about the Revolutionary War. First she started with a base map that was printed onto cardstock. It had boundary lines for the colonies already printed on it, as well as some geographical features such as mountains and major rivers. She added nothing to this base map (sometimes the base maps are more sparse and I have her add a few features directly to the cardstock base map first).
This particular set of map overlays spanned two weeks. The first week she did two overlays, and the second week just one. The first overlay showed the northern, middle, and southern colonies (in different colors).
Later that week, the second overlay showed early battles of the Revolutionary War. Those won by the Americans are shown in blue, while those won by the British are shown in red. Place names (of the battles) are also labeled.
The following week our daughter added this third overlay to show the later battles of the war. She lined up all the info in the "key" so that no writing would be on top of the writing from a previous overlay (click on photos to see larger).
When looking at the whole thing, as long as the transparencies are lined up, it is not confusing at all, but a wonderful visual representation of dates, places, and battles that she learned about!
We have found that not all weeks lend themselves well to a transparency project; on those weeks our daughter does paper maps like everyone else. But whenever possible (I do try to look ahead and plan for it) the transparency maps are a fun way for her to do map making!
Here is a set of pictures showing how the transparency maps work. These are from this past spring, as we learned about the Revolutionary War. First she started with a base map that was printed onto cardstock. It had boundary lines for the colonies already printed on it, as well as some geographical features such as mountains and major rivers. She added nothing to this base map (sometimes the base maps are more sparse and I have her add a few features directly to the cardstock base map first).
This particular set of map overlays spanned two weeks. The first week she did two overlays, and the second week just one. The first overlay showed the northern, middle, and southern colonies (in different colors).
Later that week, the second overlay showed early battles of the Revolutionary War. Those won by the Americans are shown in blue, while those won by the British are shown in red. Place names (of the battles) are also labeled.
The following week our daughter added this third overlay to show the later battles of the war. She lined up all the info in the "key" so that no writing would be on top of the writing from a previous overlay (click on photos to see larger).
When looking at the whole thing, as long as the transparencies are lined up, it is not confusing at all, but a wonderful visual representation of dates, places, and battles that she learned about!
We have found that not all weeks lend themselves well to a transparency project; on those weeks our daughter does paper maps like everyone else. But whenever possible (I do try to look ahead and plan for it) the transparency maps are a fun way for her to do map making!
Thursday, July 5, 2012
Happy Birthday America!
How grateful I am for your birth.
More than two hundred years later it is hard for us to imagine how difficult your birth must have been, but as I try to put myself in the colonists' shoes, I feel an overwhelming sense of awe and gratitude.
Daughter G with her TX cousin!
It is not a small thing to separate from a homeland and create a new one. It was not done lightly. And the ensuing war was horrific, as wars are.
My brother in law and father in law.
My mother in law and sister in law.
But the right to be heard and represented was felt so deeply and desired so strongly. After years of tyranny at the hands of British kings, the colonists had had enough.
Me and my father in law, sweating it out by the river!
And they were willing to lay down their lives if necessary, for the right to be included in the governing process.
1st, 2nd, and 3rd cousins.
"If my people, which are called by my name, will humble themselves and pray, and seek my face, and turn from their wicked ways; then will I hear from heaven, and will forgive their sin, and will heal their land." ~ 2 Chronicles 7:14.
Monday, July 2, 2012
Pool Time!
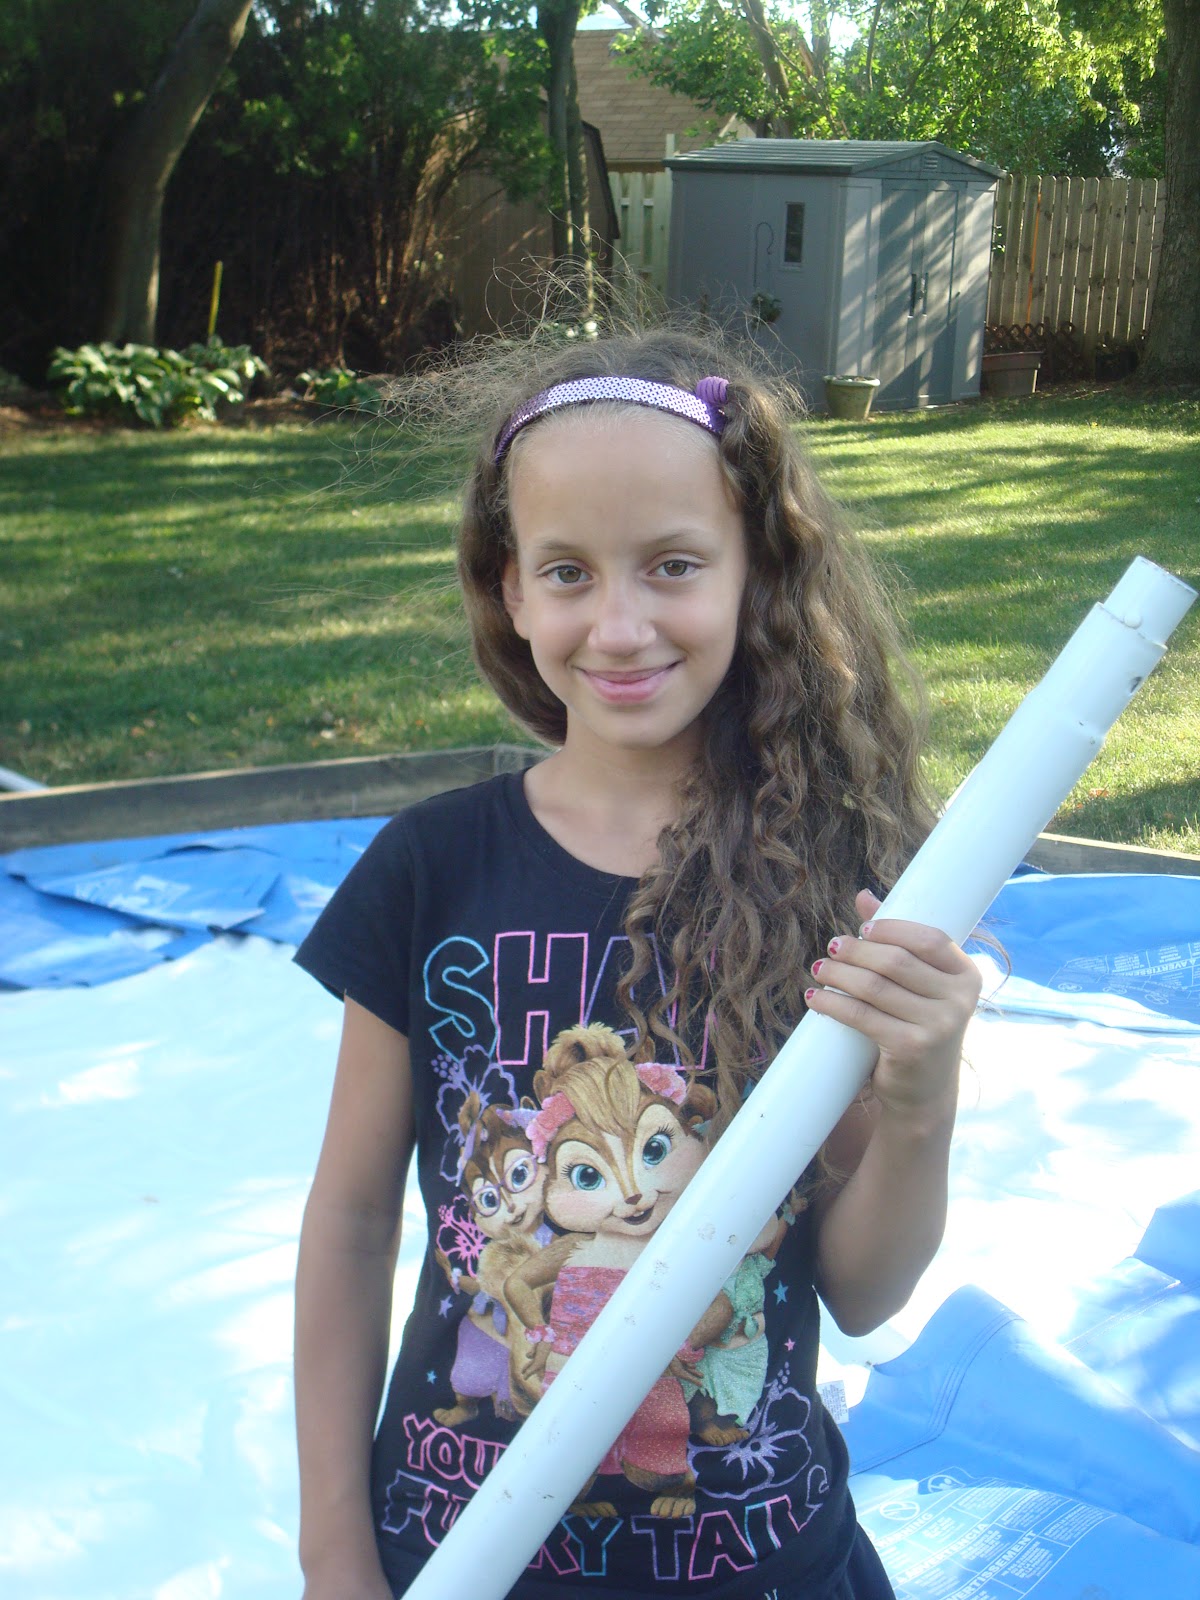
Our pool is finally up! Took us longer than usual to get it up this year, as my husband had to do some deconstruction/reconstruction on the sandbox foundation before we could actually put the pool there. A few years ago we bought a slightly larger pool than the one the foundation was designed for, and it ended up covering a few of our in-ground sprinkler heads. Hubby spent a couple Saturdays in June moving the sprinkler heads, so yesterday we were ready to set up the pool! We had lots of help from lots of friends.
Subscribe to:
Posts (Atom)